Is it ever too late for a valentine post???? (A subtle way of telling you guys this is a late valentine nail art post) .
I was in a mood for a skittle nails. Also debuting in this nail art are my rhinestones I got from ebay. Also the heart here I used my dotting tools to put two dots close to each other and then draw it into a heart. This worked good especially for the big heart.
Here it goes.
So, what do you think?????
In other news theres 2 more mani coming up and after which I will go on a week without polish. . . I have received the cuticle oil by Simple Nail Art Tips and am gonna try it. As far I have read about it . . . it works wonders. Cant wait to try it out.
Do you like my blog??? If you do follow me thro' GFC and also in Facebook.
Tuesday, February 26, 2013
Saturday, February 23, 2013
Giveaway by Ankita from corallista.com
Check out the giveaway by the amazing Ankita from corallista.com. She does amazing tutorials, which are simple and doable even by beginners.
The giveaway ends by Feb 23rd.
Friday, February 22, 2013
Am baaaaaccccccckkkkkk!!!!!!! was a lil busy for sometime and there's some news and some new stuff on here which I will tell you next week. I have a few ideas for posts other than nail art . . . You gotta wait and find out.
I had some good news the last couple of weeks . . . Won the nail art competition by Ana Seidel from Simplenailarttips.com. She recreated my manicure for her nails on valentines day. It was such a pleasure to see my nail art being created by her. And added to that I won the Sephora gift card giveaway by musingsofamuse.com. I cant stop grinning.
I haven't yet decided what to buy from Sephora yet. But my prize from Simplenailarttips.com have arrived. I got her Pure refill Kits which I so much wanted. The prize also included 6 glitter pots and a personalized copy of her book. I'm using the glitter pots next week.
I have a nail art lined up for tomorrow. Actually I had two but I didn't photograph the other one. I was busy with my son's second birthday and all that. But I will recreate it in a couple of weeks.
So for now . . . wait for a valentine skittle nail art.
Monday, February 11, 2013
Abstract view of Japanese Cherry Blossom
During my usual rounds of nail art blogs I found this nail art contest by Kelsie. Inspiration for the entries should be drawn from the pinterest board she had created for this purpose. All the pics were awesome and I had difficulty in choosing my one. But this won me over with the lovely combination of red and pink.
My interpretation
Steps:
1) Start with your base coat to protect your nails.
2) Apply a pink nail polish for your base. I used Jordana Nail Polish "Berry Parfait".
3) Take some red nail polish in a foil paper. Take some saran wrap(Cling wrap) and make a ball with it. Dip it in the polish and apply it in a random fashion on your nails. For the Red Polish I used Jordana Nail Polish "Ruby Red"
4) Wait until it is dry and then repeat the same with the pink polish in places where the red polish dominates.
5) Once it is completely dry, apply top coat. I use NYC Long Wearing Extra Shiny Top Coat.
6) Then using dotting tools and detailed Nail art brush do the nail art.
7) After the nail art is completely dry apply one more generous top coat.
So . . . wat do u think about this nail art.
If you like my nail art, please follow me through GFC. You can also find me in facebook: https://www.facebook.com/sunusramblings.
Sunday, February 10, 2013
Mani Fail Post - 1
Sorry for being MIA again . . . I have been thinking lot abt whether I need to post this but then decided once in a while I'd post some Mani Fail posts as well. This also will have some posts where the mani picture turns me down as well . . . Now I have 3 mani pictures. Well . . . I have 4 but I've decided to post one separate since that was a valentine mani . . .
Black Polka Dots with a splash of color
Actually this turned out to be good but a great person that I am, I forgot to take pictures. I remembered about the pictures when I was about to remove it for my next mani after 5 days :(. So here it is . . . Please ignore the tip wear.
Hubby's Birthday Mani
I decided to do this the last minute and didn't think this through. I didnt have certain colors and I wasn't that satisfied with it. And I took these pictures the next day and the mani already had cracks in it :( And here it is.
Bows and stripes
I started this with a lot of hope but just 2 . . . just 2 nails spoiled the whole thing. And that too at the very last moment. Lazy that I am didn't remove it. Just went ahead with it.
I luved this mani when I saw it here and I knew I had to do it :)
http://www.aliexpress.com/item-img/Orange-black-stripe-dot-French-nail-art-finished-products-false-nail-short-design-patch/615507091.html
So wat do u think . . .
If you like my nail art do follow me thro' GFC. You can also find me in facebook https://www.facebook.com/sunusramblings.
Sunday, February 3, 2013
Cute and innocent heart
I came across the nail art comp by simple nail arts few times over the past weeks. I wasn't planning on participating but we are women and we have the right to keep changing our minds right . . . I did change my mind about participating. I decided to participate at the last moment.
Now I had 2 days to figure out a simple . . . very simple valentine nail art which i can easily do myself on my right hand too . . . Even though I haven't used a fan brush or done a heart shaped mani, I thought i did take a risk and I love the end result too . . .
This is an pink and white mani but u cant see the white outright. It sort of peeks through . . . just how I wanted it.
Coming back to the contest, it was conducted my Simple Nail Art Tips. U should chk her Nail and Cuticle oil. Eventhough I havent used it, I have seen great reviews about it.
Cute and Innocent heart tutorial: (Cudnt stop using "Innocent")

Just look how gorgeous Zoya Izzy is????? Its the one in the hearts. I can see shades of violet in the flash . . . Can you????
Now I had 2 days to figure out a simple . . . very simple valentine nail art which i can easily do myself on my right hand too . . . Even though I haven't used a fan brush or done a heart shaped mani, I thought i did take a risk and I love the end result too . . .
This is an pink and white mani but u cant see the white outright. It sort of peeks through . . . just how I wanted it.
Coming back to the contest, it was conducted my Simple Nail Art Tips. U should chk her Nail and Cuticle oil. Eventhough I havent used it, I have seen great reviews about it.
Cute and Innocent heart tutorial: (Cudnt stop using "Innocent")
- Apply your base coat.
- Paint your nails in the chosen base polish. I chose "Berry Parfait" by Jordana. It is a gorgeous Pink color.
- Once it's dry, take little white polish in the foil paper. Use fan brush and apply the white polish on your nail horizontally from one side of the nail and then the other side. (if the polish doesnt apply in streaks, but as a broad stroke, just run the fan brush over it twice without dipping it in polish, you will get the streaks)
- After the white polish is fully dry, apply pink polish in the same method described in step 3 (same as ur base polish) to your nails. Don't cover your white polish fully instead just enough for the white to peek through. (Think of a white nail polish sandwiched between pink polishes)
- Let them dry again fully.
- Now for your heart: There are two methods. one is to apply two dots using ur dotting tool and just drag the dots down to make a heart. Second is to use ur dotting tool to make a "V" shape first and then manipulate it to make a heart. ( U can also use free hand) I love the second method since it easy to handle it even if I make a mistake when painting a heart.
- Draw hearts on ur nails as described in step 6. I used a shimmery pink polish. Just as many hearts as u want. Its your wish.
- After its all dry, top it off with a top coat.
- Now sit back and enjoy ur nails.
Its wat am doing. . . enjoying my nails.
Polishes Used:
Base Coat: Jordana Calcium Boost Base Coat
Base Polish: Jordana Nail Polish "Berry Parfait"
White Polish : NYC Long wearing Nail enamel "French Tip"
Heart : Zoya Nail Polish "Izzy"
Top Coat : NYC Long wearing Nail enamel Extra shiny Topcoat.
Just look how gorgeous Zoya Izzy is????? Its the one in the hearts. I can see shades of violet in the flash . . . Can you????
So now tell me if you guys like it. I would love to see your comments.
If you like my nail arts do follow me through GFC and also thro' facebook. Details are in the right hand side.
Thursday, January 31, 2013
Polka Dots with a twist
Back with one more nail art. . . I so so so luved it when I was wearing it. Wasn't so sure of the color combination but it worked. This was inspired by a Nail art tutorial by Polishpedia. ( Click on the link to go to the original tutorial)
The colors were easy to choose (even though I wasnt sure it would work). Two of my most favorite colors.
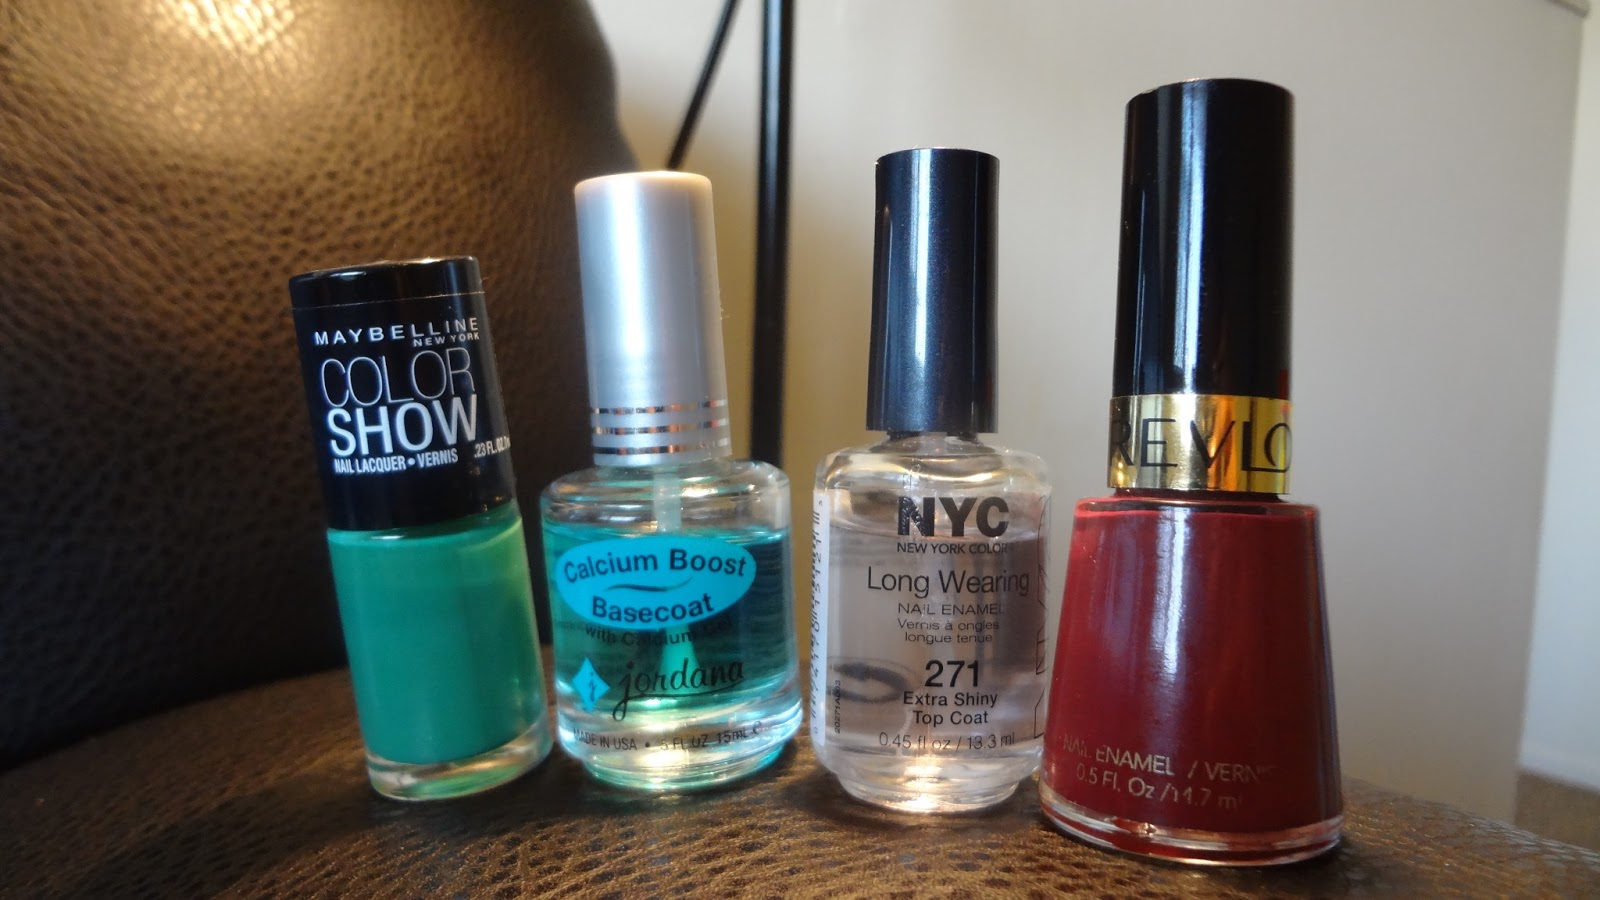
Maybelline Colorshow Tenacious Teal (Teal but greener) - This is a very very beautiful color not much of a teal tho' and goes opaque in 3 thin layers or 2 thick layers.
Revlon Nail Enamel Raisin Rage (berry shade) - An amazing color and an amazing formula to work with. Just 2 thin layers is enough for opacity.
Teal is a lil thinner formula so I wasn't so sure of how it would be if I apply it over the berry shade using the scotch tape method. So I did a freehand with the berry first on one half of the nail and cleaning the strays on the other half with a q-tip and then applied the teal. The dotting tool was a bobby pin :D. I didnt want an accent nail so I went ahead with the same theme for all my nails.
So what do u think of it???? Do comment below.
If you like my nail arts, do follow me using GFC.
Subscribe to:
Posts (Atom)